drill doctor 750x manual
Drill Doctor 750X Manual: A Comprehensive Guide
This guide details the Drill Doctor 750X, offering 112 pages of instructions, safety precautions, and maintenance tips. Download the free PDF for optimal use!
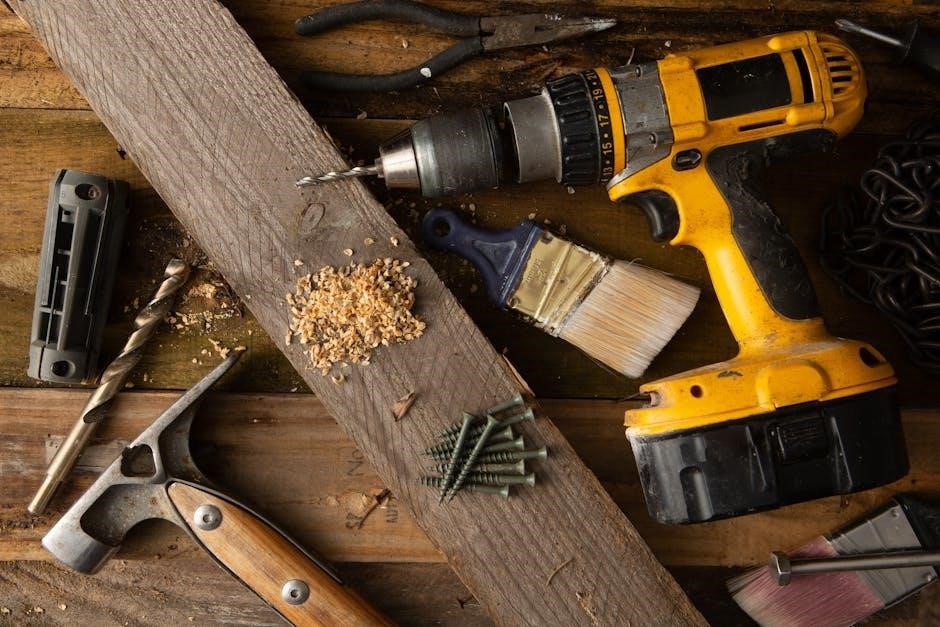
The Drill Doctor 750X is a versatile drill bit sharpener designed for both professional and DIY users. This powerful tool efficiently restores the cutting edge of various drill bit types, including High-Speed Steel (HSS), masonry, carbide, cobalt, and TiN-coated bits. Its adjustable angles, ranging from 115 to 140 degrees, allow for customized sharpening based on the material being drilled.
Understanding the Drill Doctor 750X’s capabilities is crucial for achieving optimal performance and extending the life of your drill bits. This comprehensive manual provides a step-by-step guide to ensure safe and effective operation, covering everything from initial setup to troubleshooting common issues. Accessing the free PDF version, containing 112 pages, is highly recommended before first use.
Understanding the Drill Doctor Family
Drill Doctor offers a range of drill bit sharpeners to meet diverse needs. The family includes models like the X2, 750X, 500X, 350X, XP, and the classic 250/300 and 400 models. Each version provides varying levels of functionality and features, catering to different user requirements and budgets.

The 750X stands out with its ability to sharpen a wider variety of bit types and its adjustable angle settings. While simpler models like the Classic series offer basic sharpening, the newer iterations, such as the X2 and 750X, incorporate advanced features for precision and versatility. Referencing the appropriate manual – readily available as a free PDF download – is essential for understanding the specific capabilities of each model.
Drill Doctor Models Overview (X2, 500X, 350X, XP, Classic)
The Drill Doctor lineup presents options for every user. The X2 is a premium model offering advanced features. The 500X provides a balance of capability and affordability. The 350X is a more compact and portable option, while the XP delivers reliable performance. The Classic models (250/300 & 400) represent the original designs, focusing on simplicity and essential sharpening functions.
Each model’s manual, available as a free PDF, details its specific capabilities. Understanding these differences is crucial for selecting the right sharpener. While all models aim to restore dull bits, features like adjustable angles and bit type compatibility vary significantly. Always consult the relevant Drill Doctor documentation for optimal results.
Focus on the Drill Doctor 750X: Key Features
The Drill Doctor 750X excels with its versatility, sharpening High-Speed Steel (HSS), masonry, carbide, cobalt, and TiN-coated bits. It accommodates drill bit sizes from 3/32in to 3/4in. A standout feature is its adjustable angle, ranging from 115 to 140 degrees, allowing customization for various materials. The 750X manual, downloadable as a PDF, details these settings.
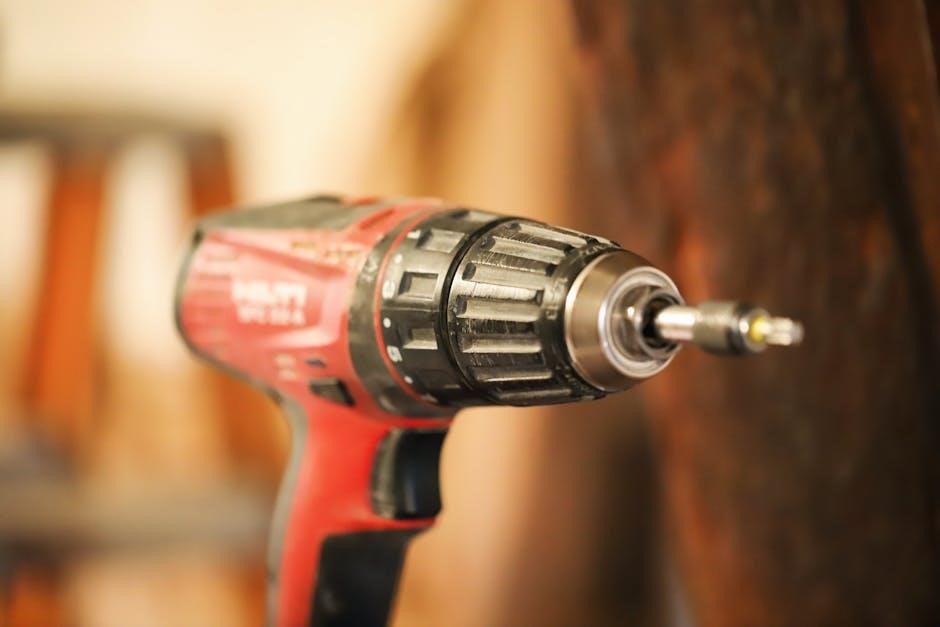
Its user-friendly design ensures ease of operation, even for beginners. The 750X delivers consistent, precise sharpening, extending the life of your drill bits. Proper use, guided by the manual, guarantees optimal performance and safety. This model represents a significant upgrade in sharpening technology.

Setting Up Your Drill Doctor 750X
Carefully unpack the Drill Doctor, inspect all components, and ensure proper installation before connecting to a power source for operation.
Unboxing and Initial Inspection
Begin by carefully unpacking your Drill Doctor 750X from its shipping container. Thoroughly inspect all included components against the parts list detailed within the user manual. Verify the presence of the drill bit sharpener base, the sharpening head, the adjustable drill bit clamps, and any accompanying accessories like collets or guides.
Check for any visible damage that may have occurred during transit, such as cracks, dents, or loose parts. Ensure all electrical components, including the power cord, are intact and free from fraying or damage. If any parts are missing or damaged, immediately contact the manufacturer or retailer for assistance. A complete initial inspection ensures safe and effective operation of your new drill bit sharpener.
Installation and Power Connection
Position the Drill Doctor 750X on a stable, level surface with adequate ventilation. Ensure sufficient workspace around the unit for comfortable operation. Before connecting to power, verify that the voltage indicated on the sharpener’s label matches your local power supply.
Connect the power cord securely into a grounded electrical outlet. Avoid using extension cords if possible; if necessary, use a heavy-duty extension cord rated for the appliance’s amperage. Once connected, briefly test the power switch to confirm the unit powers on correctly. Always disconnect the power cord when performing maintenance or changing drill bits to prevent accidental activation.
Understanding the Control Panel
The Drill Doctor 750X’s control panel features adjustment knobs for precise angle selection, ranging from 115 to 140 degrees, allowing customization for various materials. These knobs control the point angle, crucial for optimal drilling performance. Familiarize yourself with their function before operation.
A prominent power switch initiates and terminates the sharpening process. Indicator lights signal power status and operational readiness. Understanding these lights is vital for safe and efficient use. Refer to the manual’s diagrams for specific light indications. Proper control panel understanding ensures accurate sharpening and extends drill bit lifespan.
Adjustment Knobs and Their Functions
The Drill Doctor 750X utilizes adjustment knobs to precisely set the desired point angle for sharpening. These knobs allow selection between 118-degree and 135-degree angles, catering to diverse materials and drilling needs. Carefully rotating these knobs alters the sharpening geometry, impacting hole quality and bit performance.
Proper adjustment is crucial for effective sharpening. The manual details how each knob influences the final point angle. Experimentation and reference to the guide are recommended. Accurate settings ensure optimal drilling results and prevent premature bit wear. Mastering these adjustments unlocks the full potential of your Drill Doctor 750X.
Power Switch and Indicator Lights
The Drill Doctor 750X features a straightforward power switch for easy operation. Upon activation, indicator lights illuminate, providing crucial status information. These lights confirm power connection and signal when the sharpening cycle is in progress. Refer to the manual for specific light patterns and their corresponding meanings.
Understanding these indicators is vital for safe and efficient use. They alert you to potential issues or completion of the sharpening process. Always ensure the power switch is in the ‘off’ position when not in use and before performing maintenance. Proper attention to these features enhances the longevity of your Drill Doctor 750X.
Sharpening with the Drill Doctor 750X
Effectively sharpen drill bits using the Drill Doctor 750X by following the step-by-step guide, adjusting the point angle for optimal results.
Step-by-Step Sharpening Guide
To achieve optimally sharpened drill bits with your Drill Doctor 750X, begin by securely inserting the dull bit into the chuck, ensuring it’s firmly held. Next, set your desired point angle using the adjustment knob – consider 118-degrees for general use or 135-degrees for harder materials. Turn the Drill Doctor on and gently guide the bit into the sharpening wheel, following the machine’s guide.
Apply consistent, light pressure, allowing the machine to do the work. Repeat this process 2-3 times per bit, checking for sharpness after each pass. Remember to always turn off the machine before removing the sharpened bit. Proper technique ensures longevity and performance!
Choosing the Correct Point Angle
Selecting the appropriate point angle is crucial for optimal drilling performance with your Drill Doctor 750X. A standard 118-degree angle is versatile for most materials, providing a good balance between cutting efficiency and durability. However, when tackling tougher materials like cast iron or hard wood, a shallower 135-degree angle is recommended.
This flatter angle creates a stronger, more durable point, reducing chipping and improving hole quality. Your Drill Doctor allows easy adjustment between these angles, ensuring you’re always equipped for the task at hand. Consider the material and desired outcome when making your selection.
118-Degree vs. 135-Degree Point Angles
The Drill Doctor 750X offers flexibility with 118-degree and 135-degree point angles, each suited for different applications. A 118-degree angle is the general-purpose choice, excelling in softer materials like wood and aluminum, providing efficient cutting and a clean finish. Conversely, the 135-degree angle is ideal for harder materials – think cast iron or stainless steel.
This wider angle creates a stronger point, resisting wear and chipping during demanding drilling. Choosing correctly impacts hole quality and bit longevity. The Drill Doctor simplifies switching between these angles, allowing you to optimize performance for every material.
Material-Specific Angle Selection
Selecting the correct point angle with your Drill Doctor 750X is crucial for optimal performance. For softer woods and plastics, the standard 118-degree angle delivers efficient cutting. However, harder materials demand a change. When drilling into tough materials like cast iron or stainless steel, a shallower 135-degree point angle is recommended.
This flatter angle creates a stronger, more durable point, minimizing chipping and maximizing hole quality. Remember, the Drill Doctor allows easy adjustment, ensuring you always have the ideal angle for the job at hand, extending bit life and improving drilling accuracy.
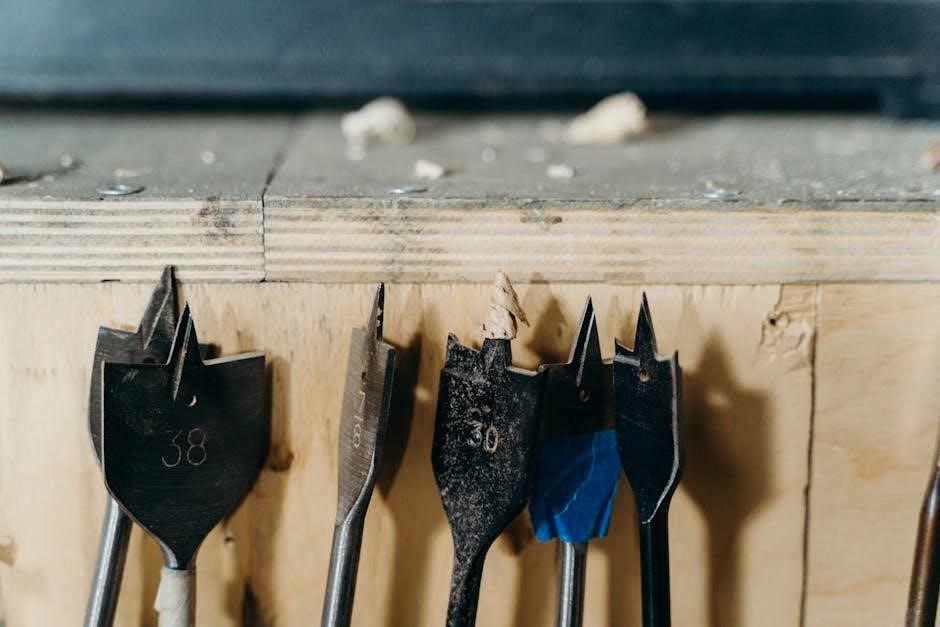
Sharpening Different Drill Bit Types
The Drill Doctor 750X expertly sharpens a variety of drill bit materials. For High-Speed Steel (HSS) bits, a standard sharpening cycle typically suffices, ensuring a keen edge for wood and general-purpose drilling. However, specialized bits require attention.
Masonry, Carbide, Cobalt, and TiN-coated bits benefit from a slightly adjusted approach. Reduce pressure and speed during sharpening to prevent damage to the coating or the bit’s inherent hardness. Always consult the Drill Doctor 750X manual for specific recommendations regarding each material, maximizing bit longevity and performance.
High-Speed Steel (HSS) Bits
High-Speed Steel (HSS) drill bits are the most common type, and the Drill Doctor 750X excels at restoring their cutting edge. Utilize the standard sharpening setting, ensuring the bit is securely clamped within the machine. A consistent, moderate pressure during the sharpening cycle yields optimal results.
Regular sharpening maintains HSS bit performance, preventing premature dulling and reducing drilling effort. Refer to the Drill Doctor 750X manual for detailed instructions on bit alignment and angle selection. Properly sharpened HSS bits provide clean, efficient holes in wood, plastic, and softer metals.
Masonry, Carbide, Cobalt, and TiN-Coated Bits
Sharpening masonry, carbide, cobalt, and TiN-coated bits with the Drill Doctor 750X requires a slightly different approach. These materials are harder than HSS, demanding a slower, more controlled sharpening cycle. Ensure the correct bit type is selected on the machine, if applicable, for optimized performance.
Avoid excessive pressure, as it can damage the coating or the bit itself. Consult the Drill Doctor 750X manual for specific recommendations regarding angle adjustments and sharpening times for each material. Maintaining the original geometry is crucial for these specialized bits, ensuring longevity and precision.
Maintenance and Safety
Regular cleaning and lubrication are vital for the Drill Doctor 750X. Always prioritize safety precautions detailed in the manual for safe operation.
Cleaning and Lubrication
Maintaining your Drill Doctor 750X requires consistent cleaning to remove metal filings and debris. After each use, disconnect the power and use a soft brush or compressed air to clear the internal components. Pay close attention to the grinding wheel area and the drill bit clamping mechanism. Lubrication is also crucial; apply a small amount of light machine oil to the moving parts, such as the lead screw and guide rails, to ensure smooth operation and prevent wear. Avoid over-lubrication, as excess oil can attract dust and grime. Regular cleaning and lubrication will significantly extend the lifespan and performance of your Drill Doctor 750X, ensuring accurate and reliable drill bit sharpening.
Troubleshooting Common Issues
If your Drill Doctor 750X isn’t sharpening correctly, first ensure the drill bit is securely clamped. A common issue is incorrect point angle selection; verify you’ve chosen the appropriate angle for the bit material. If the motor seems weak, check the power connection and ensure the unit is receiving adequate voltage. Unusual noises could indicate debris buildup – disconnect power and clean thoroughly. For bits that won’t center, re-adjust the bit alignment guides. If problems persist, consult the full 112-page manual for detailed diagrams and solutions, or contact customer support for assistance.
Safety Precautions
Always disconnect the Drill Doctor 750X from the power source before cleaning or performing maintenance. Never operate the sharpener with damaged cords or plugs. Wear safety glasses to protect your eyes from debris. Keep hands clear of moving parts during operation. Ensure the work area is well-lit and free of obstructions. Do not attempt to sharpen bits outside the recommended size range (3/32in ⎯ 3/4in). Read the entire 112-page manual before use to fully understand all safety guidelines and operating procedures. Proper use ensures safe and effective sharpening.
Accessing the Drill Doctor 750X Manual
Find the comprehensive Drill Doctor 750X manual as a free PDF download online, containing 112 pages of detailed instructions and guides.
Free PDF Download Locations
Locating the Drill Doctor 750X manual in PDF format is readily achievable through various online resources. Several websites specialize in providing user manuals for tools and equipment, offering direct download links. A quick internet search using keywords like “Drill Doctor 750X manual PDF” will yield numerous results.
Ensure the source is reputable to avoid downloading potentially harmful files. ManualsLib and similar platforms frequently host these documents. The manual itself, spanning 112 pages, provides exhaustive guidance on operation, maintenance, and troubleshooting. Accessing this digital copy empowers users with immediate access to vital information, enhancing their experience with the Drill Doctor 750X.

Manual Contents Overview (112 Pages)
The Drill Doctor 750X manual, encompassing 112 pages, delivers a comprehensive exploration of the device. It begins with crucial safety precautions and detailed installation instructions, ensuring proper setup. Subsequent sections guide users through the sharpening process, covering various drill bit types – HSS, masonry, carbide, cobalt, and TiN-coated.
A dedicated portion explains point angle selection, contrasting 118-degree and 135-degree angles for optimal performance in different materials. Troubleshooting common issues and maintenance procedures, including cleaning and lubrication, are also thoroughly addressed. This manual serves as an invaluable resource for maximizing the lifespan and efficiency of your Drill Doctor 750X.
Leave a Reply